
Before You Mulch: Bed Prep Checklist for Lexington Homes
A step-by-step prep checklist for Lexington homeowners who want fresh mulch to actually look right and hold — covering edges, weeds, debris, plant checks, and proper depth before the mulch goes down.
Right Now — Lexington
Late spring — still useful · June 4, 2026
Late spring mulching helps with moisture retention through summer, though the best timing for weed suppression has passed.
Reviewed 2026-04-16
QUICK ANSWER
Prep the bed first if weeds, leaves, soft edges, or old buildup are still visible.
Fresh mulch is a finish layer. In Lexington beds, it works best after edge recovery, weed removal, debris cleanup, plant checks, and a controlled 2-3 inch final depth. If those problems are still visible, mulch alone will hide them briefly instead of solving them.
- Clean edges make the finished line read from the street.
- Weeds and buried leaves need to come out before new coverage goes down.
- Too much mulch around trunks or crowns creates plant-health problems.
Use This Checklist to Make Sure the Bed Is Actually Ready Before Mulch Goes Down
Mulch is the finish layer, not the foundation. This guide covers every prep step that should happen first so the mulch install looks right and lasts.
Best for
Homeowners who have decided to mulch and want to know what prep should happen first
Primary handoff
Mulching first, then seasonal maintenance when the bed needs a broader reset beyond mulch prep
Guardrail
Owns the prep checklist only — timing stays with the timing guide, material choice stays with the comparison guide
VISUAL DIAGNOSIS
Match your bed condition before deciding what work comes first
Use these examples as a quick diagnosis. The right next step depends on what is already in the bed and whether the mulch color looks faded.
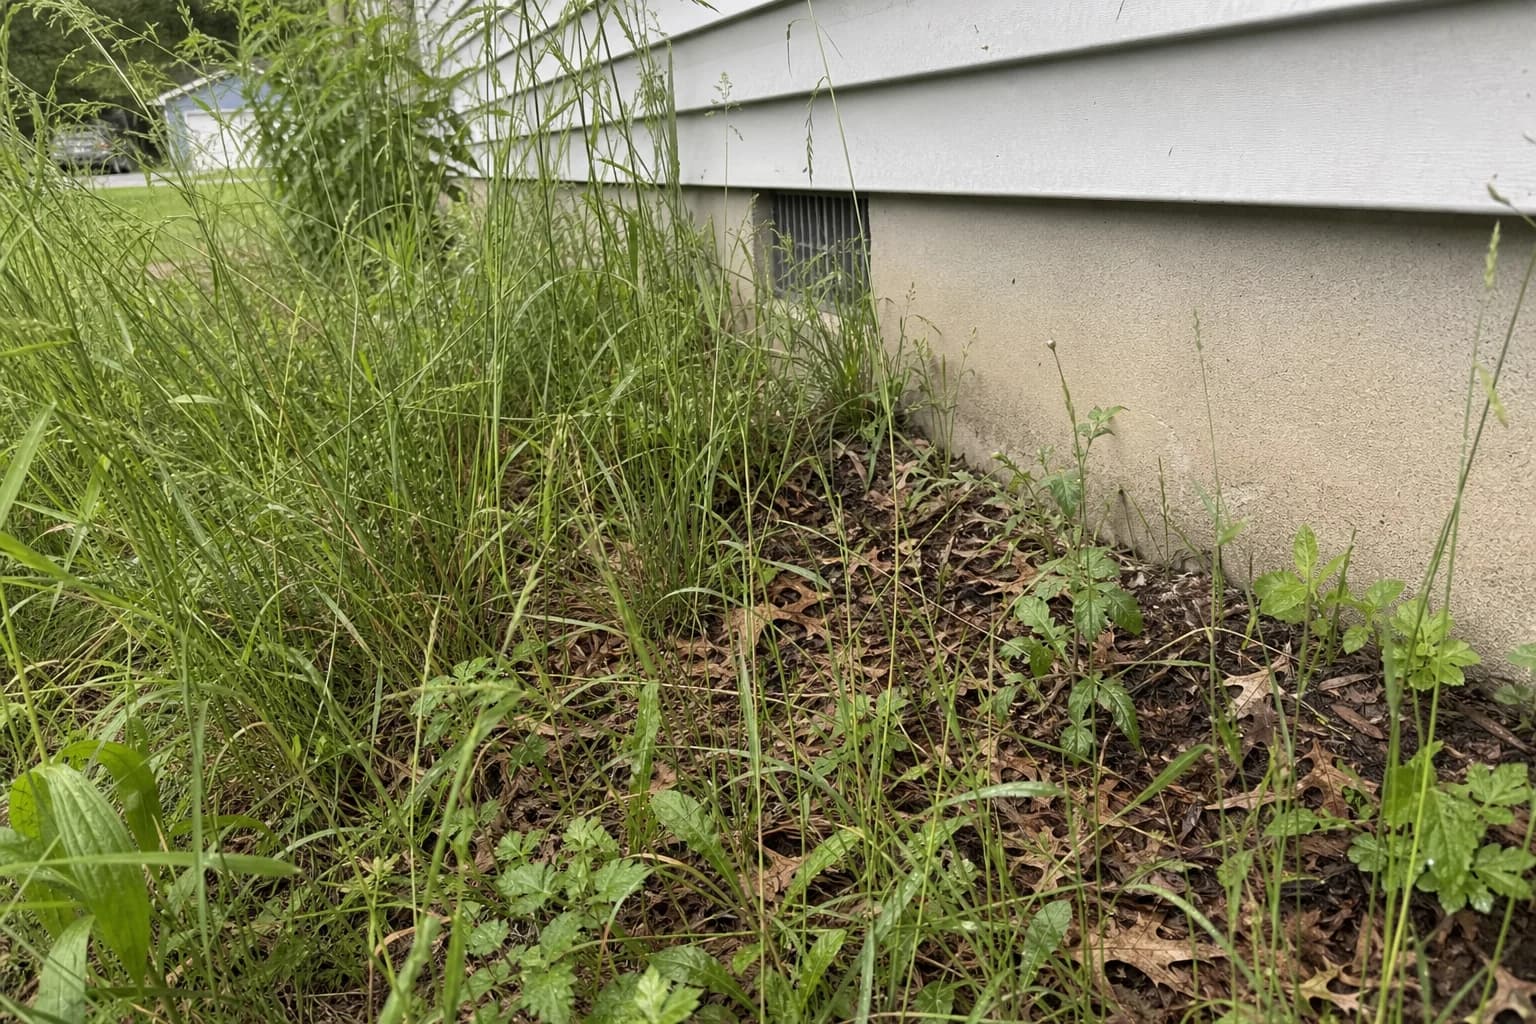
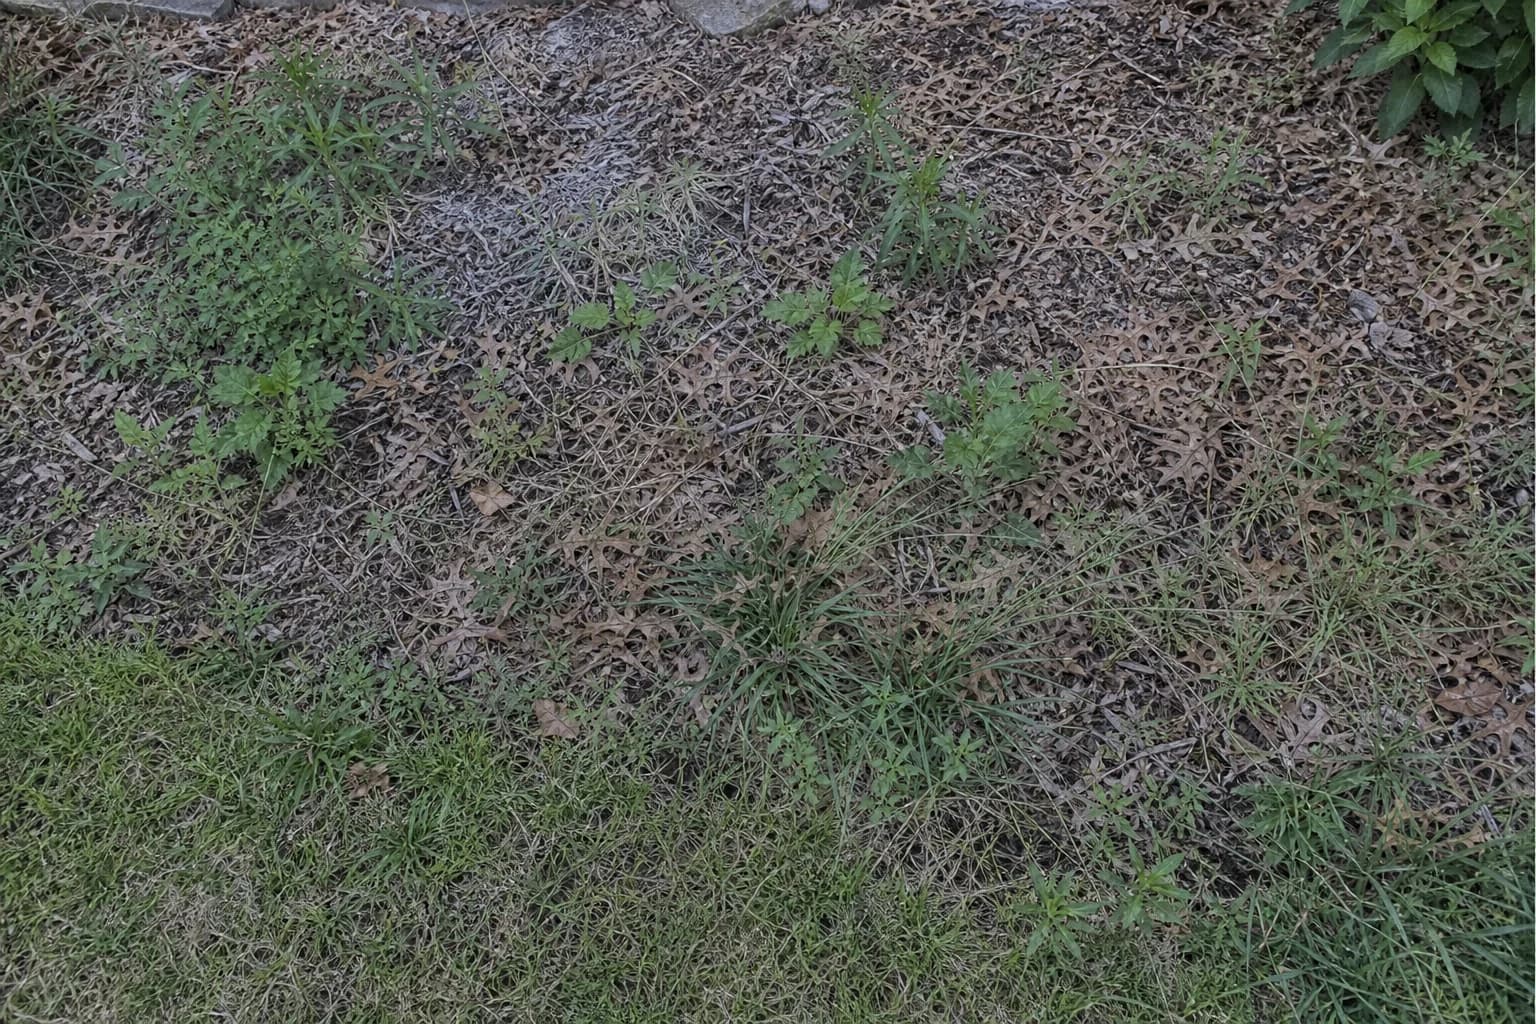
Cleanup first
The bed has weeds, leaf litter, or undefined coverage.
Reset the bed before mulch. Fresh material on top of this condition will not hold the finished look.
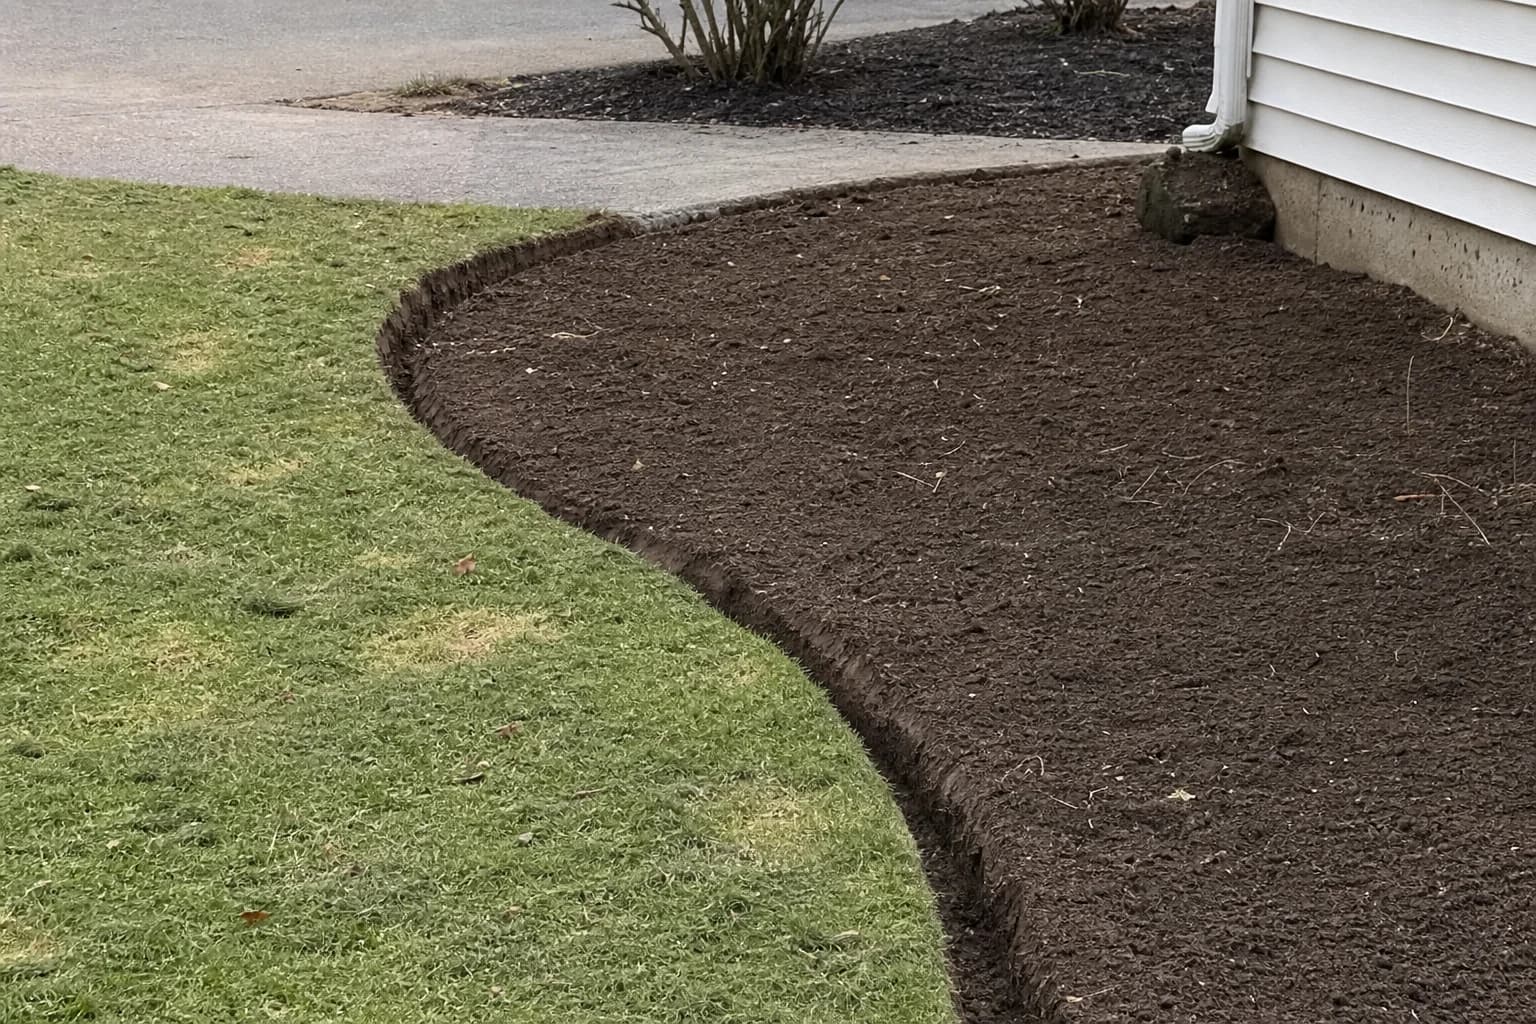
Edge first
The bed line is the part that makes the finish look intentional.
Recover the edge before spreading mulch so the bed reads cleanly against turf and hardscape.
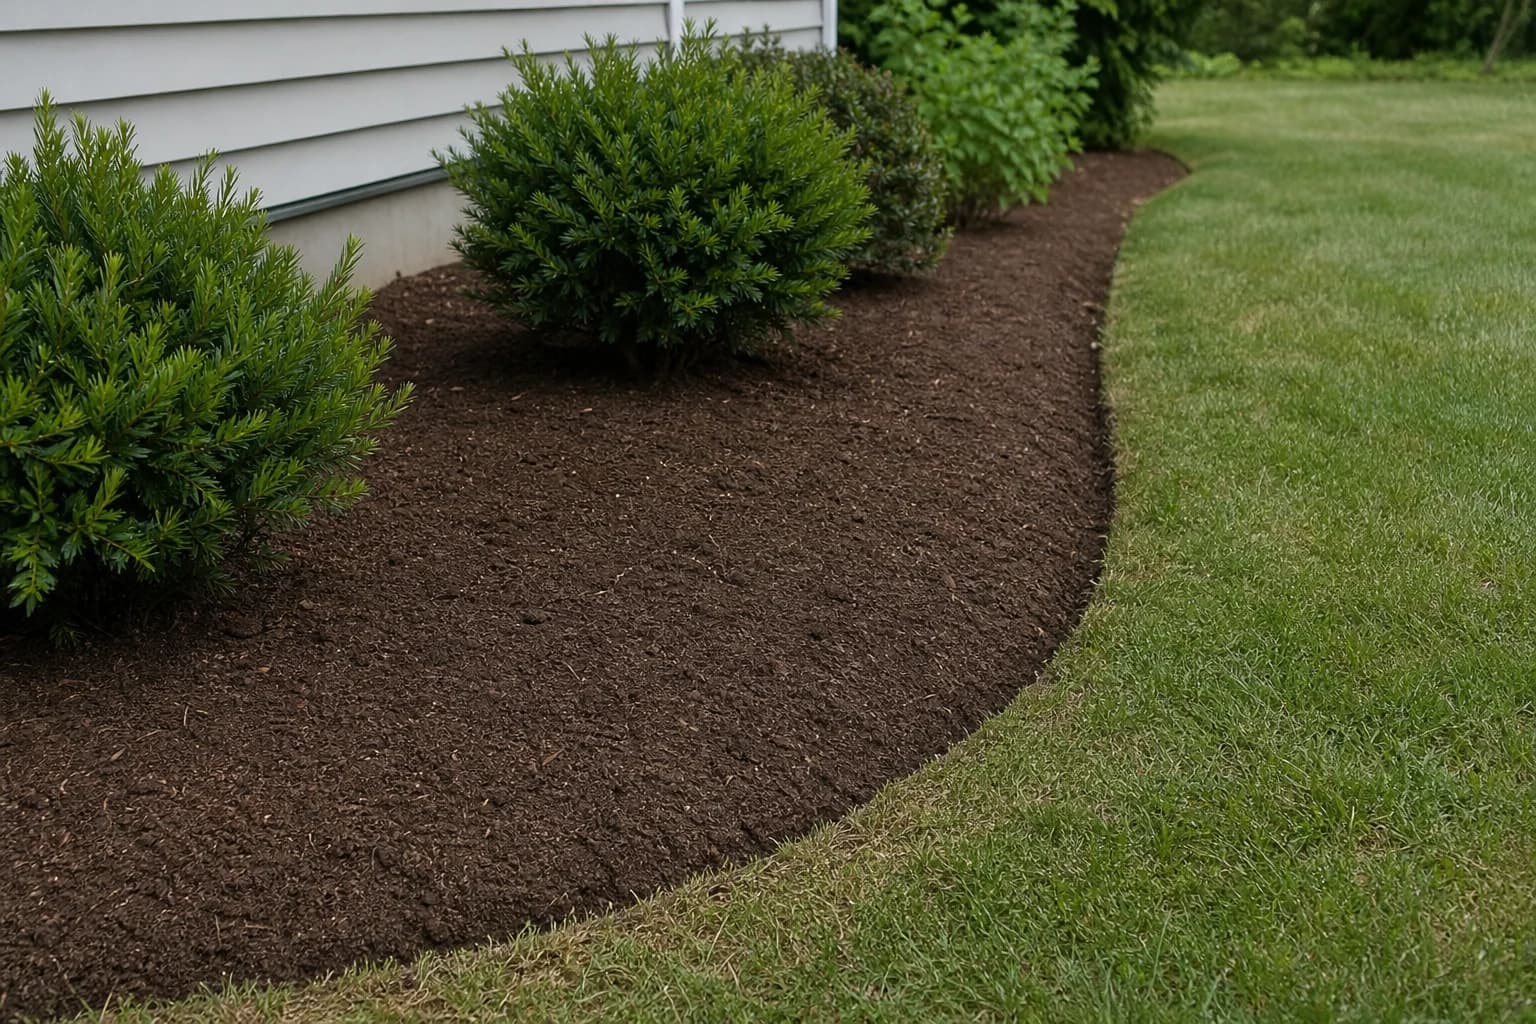
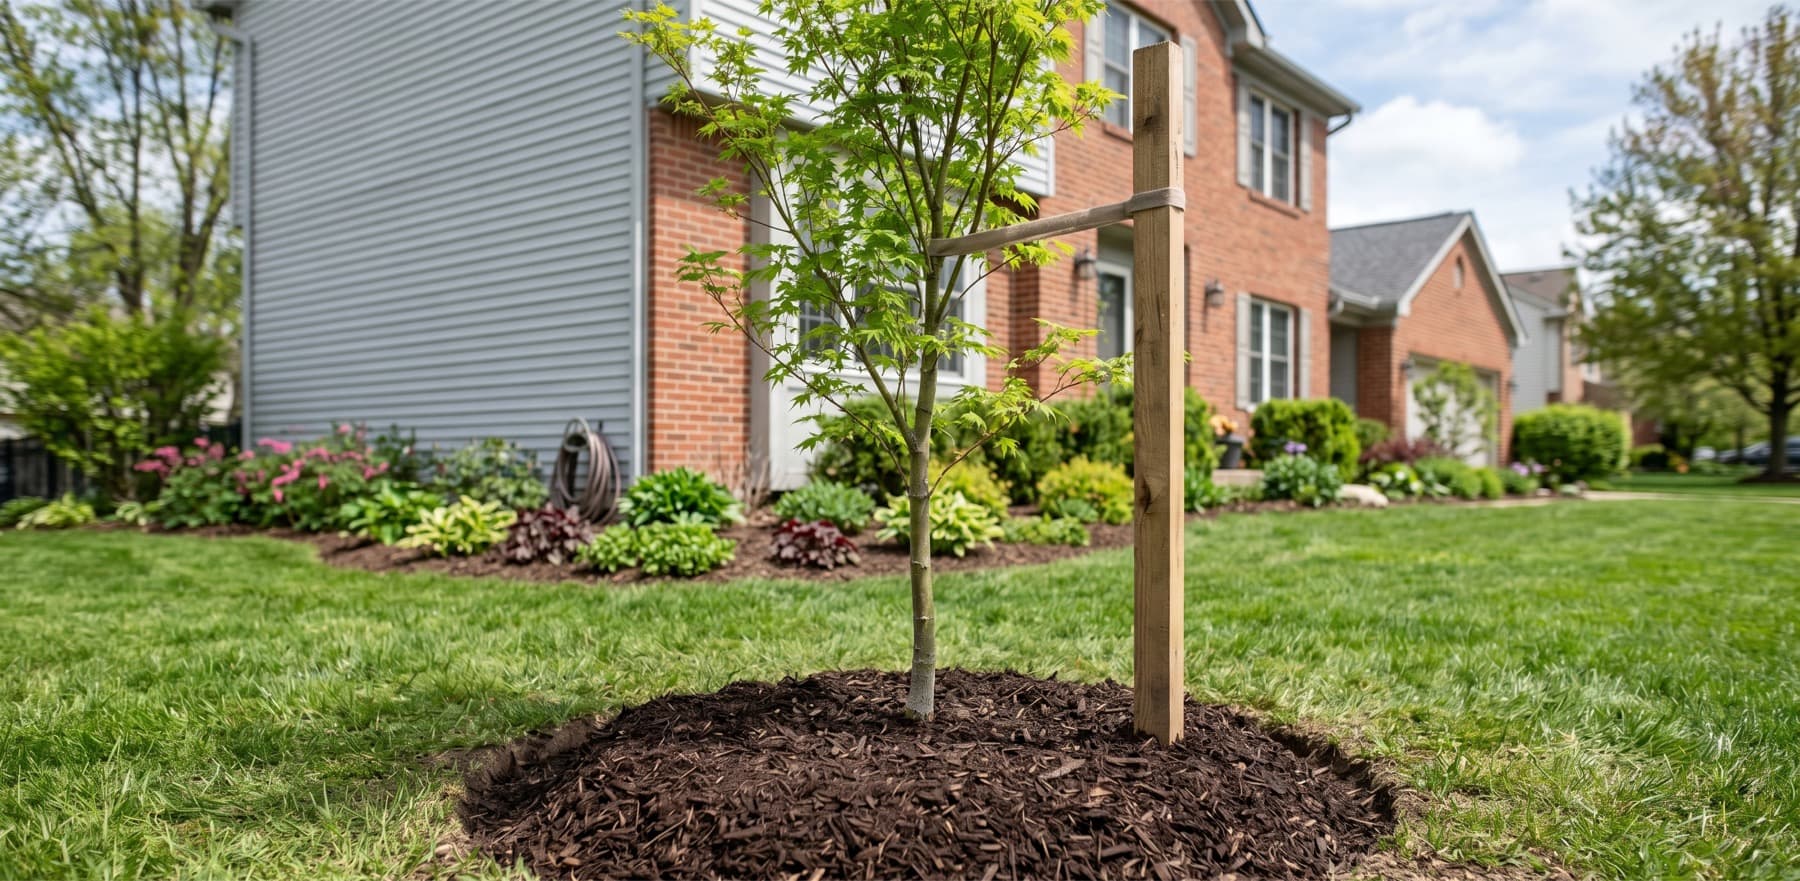
Mulch-ready
The bed is cleared, shaped, and ready for the finish layer.
This is when fresh mulch can improve appearance without covering preventable problems.
PREP ORDER
The clean sequence before mulch goes down
Keep the order simple. Each step removes a problem that would otherwise show through the new mulch.
Step 1
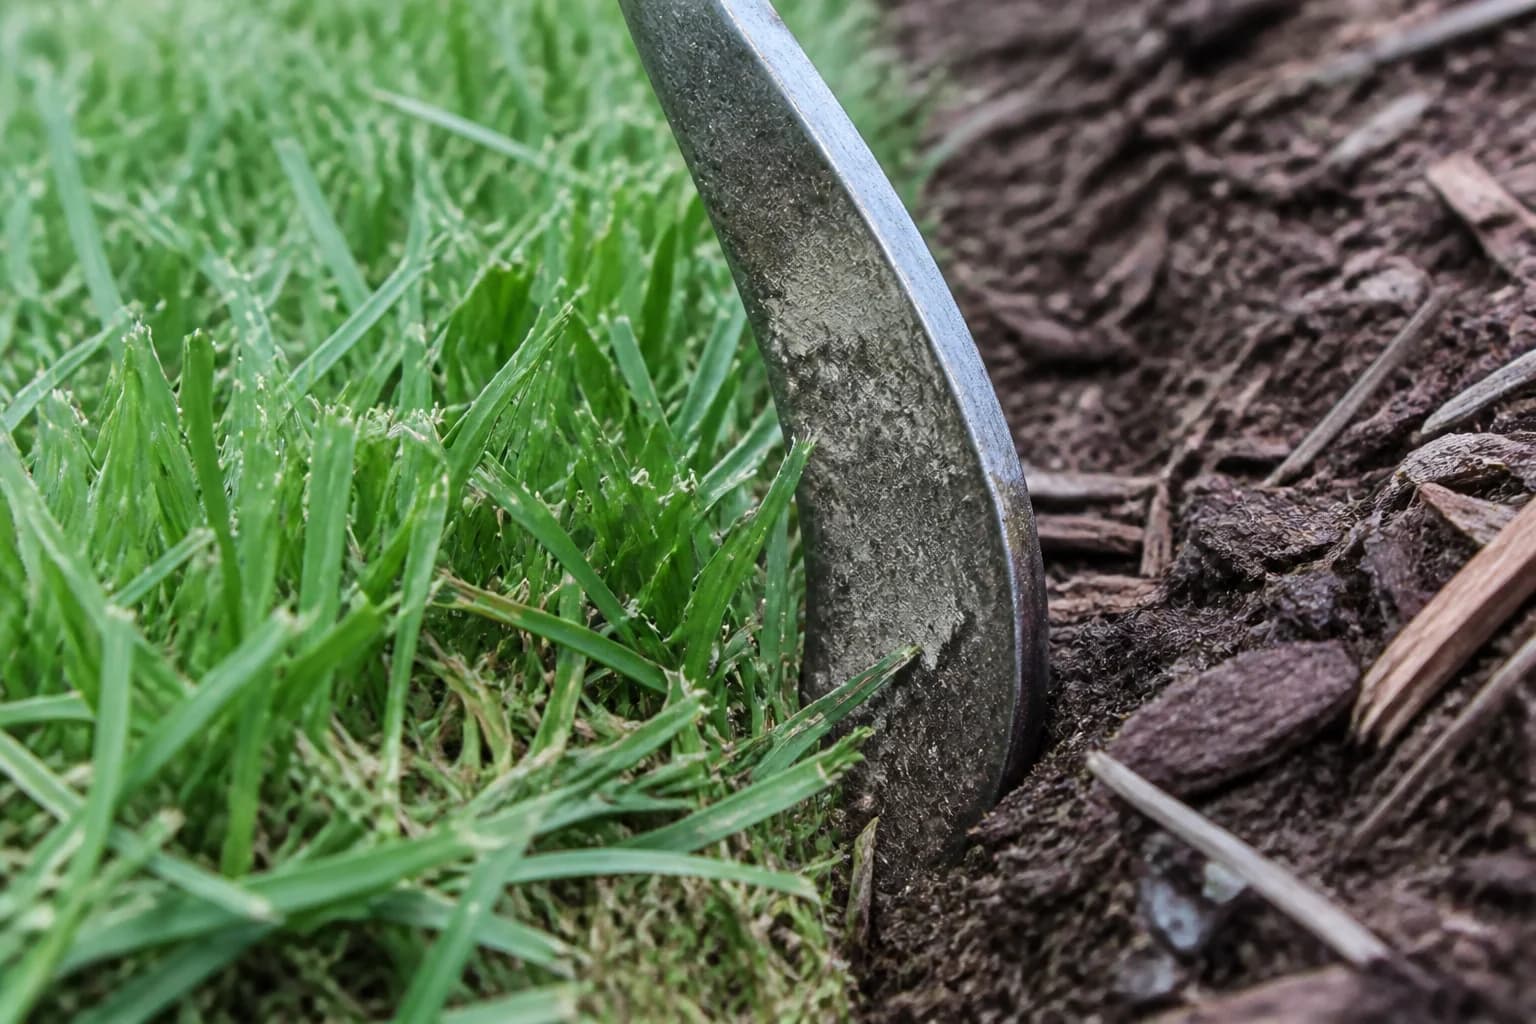
Recover the bed edge
Cut or clean the line first so the mulch has a defined boundary against lawn, sidewalk, driveway, or stone.
Step 2
Remove weeds and loose debris
Pull existing weeds, clear leaf litter, and remove loose debris before the new layer hides the problem.
Step 3
Check plants and trunk bases
Remove dead material and keep mulch away from trunks, crowns, and stems so the finish does not create rot issues.
Step 4
Install an even finish layer
Aim for 2-3 inches in most ornamental beds. Thicker coverage is not better when old buildup is already present.
COMMON MISTAKES
The mistakes that make fresh mulch fail quickly
Most bad mulch results come from skipping prep, not from choosing the wrong color. These are the problems the rest of the guide helps you avoid.
- Spreading mulch over weeds that are already rooted in the bed.
- Leaving soft or grass-covered edges and expecting mulch to define the line.
- Adding new mulch every year without checking old depth and buildup.
- Piling mulch against trunks, stems, or plant crowns.
Why mulch works better after the bed is reset first
These illustrative examples show the difference between covering a tired bed and preparing it before fresh mulch. The visual sequence is educational, not a finished-job claim.
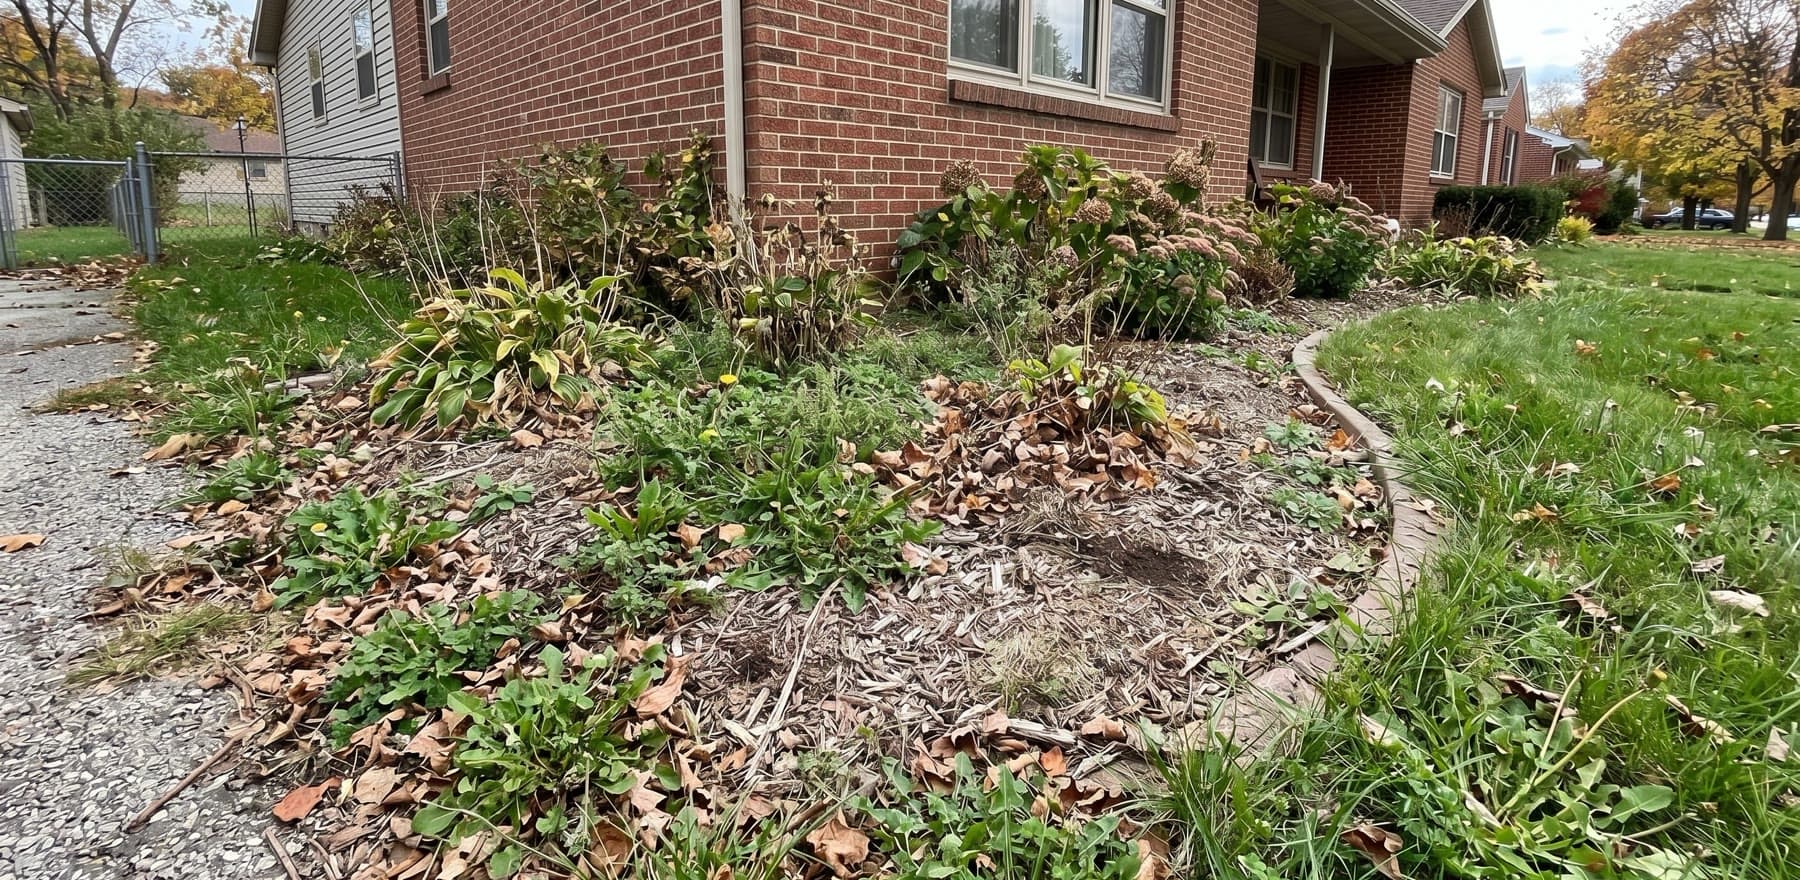
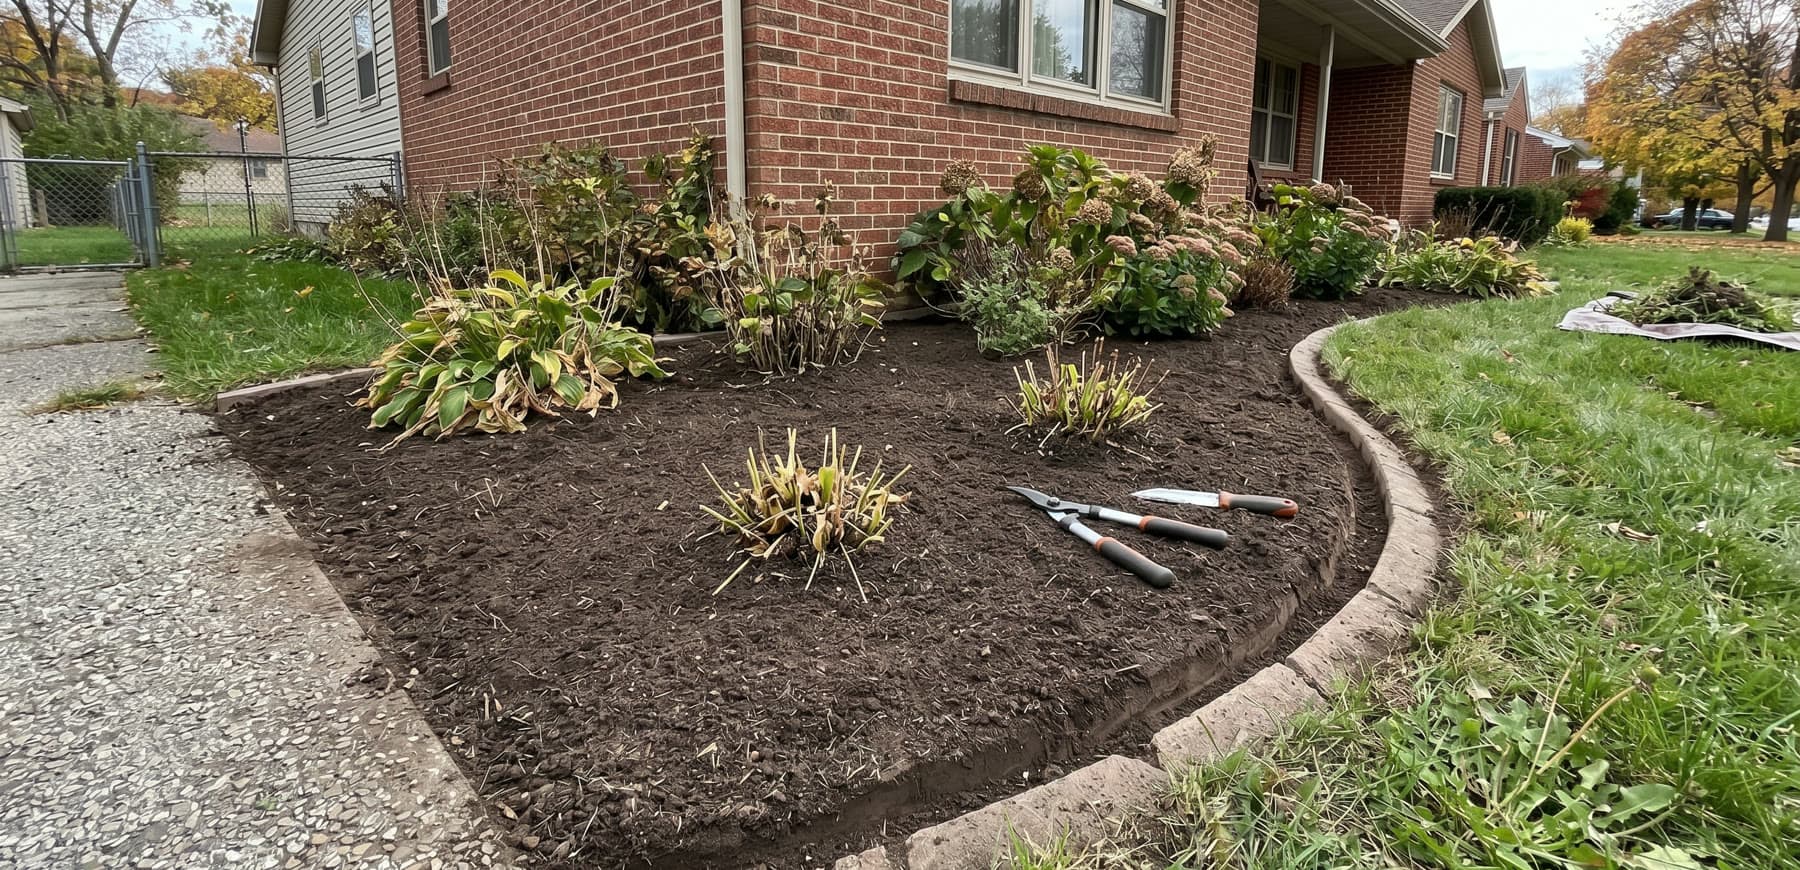
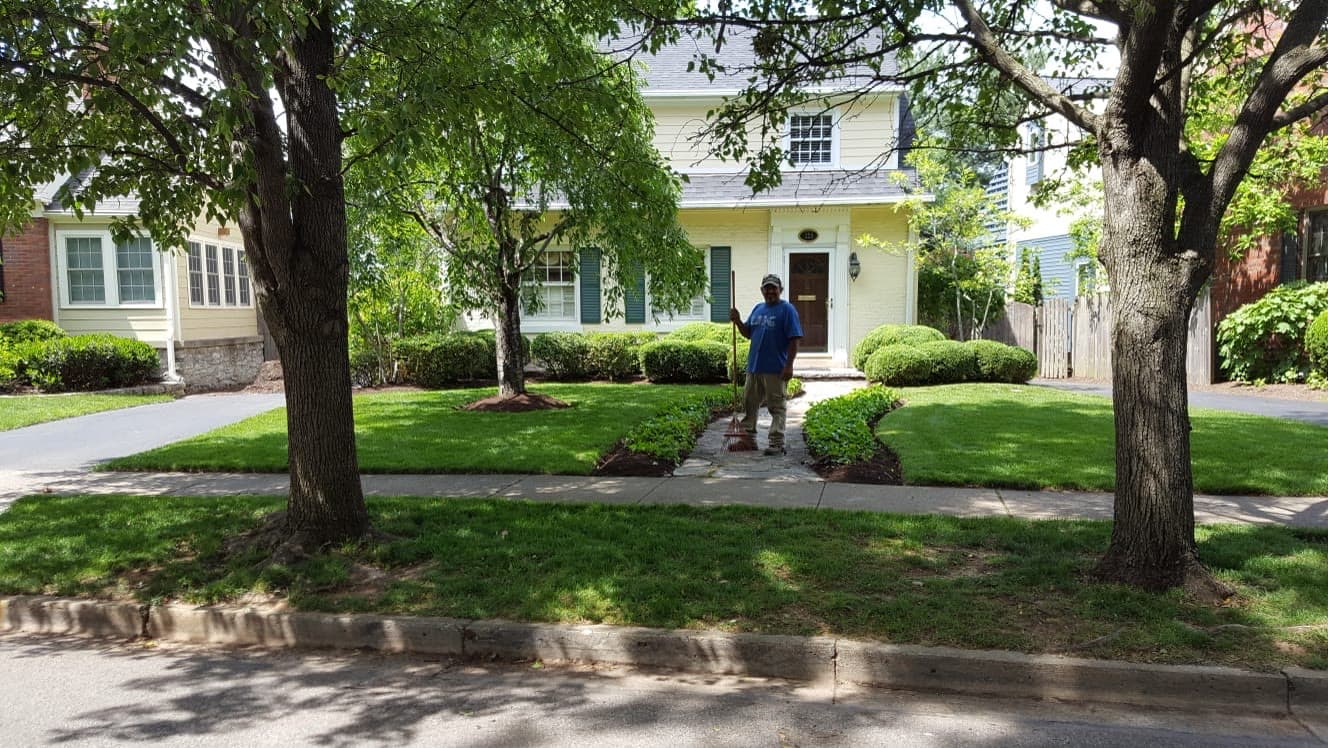
Before
Thin coverage, weeds, leaves, and soft edges make fresh mulch less effective if they are left in place.
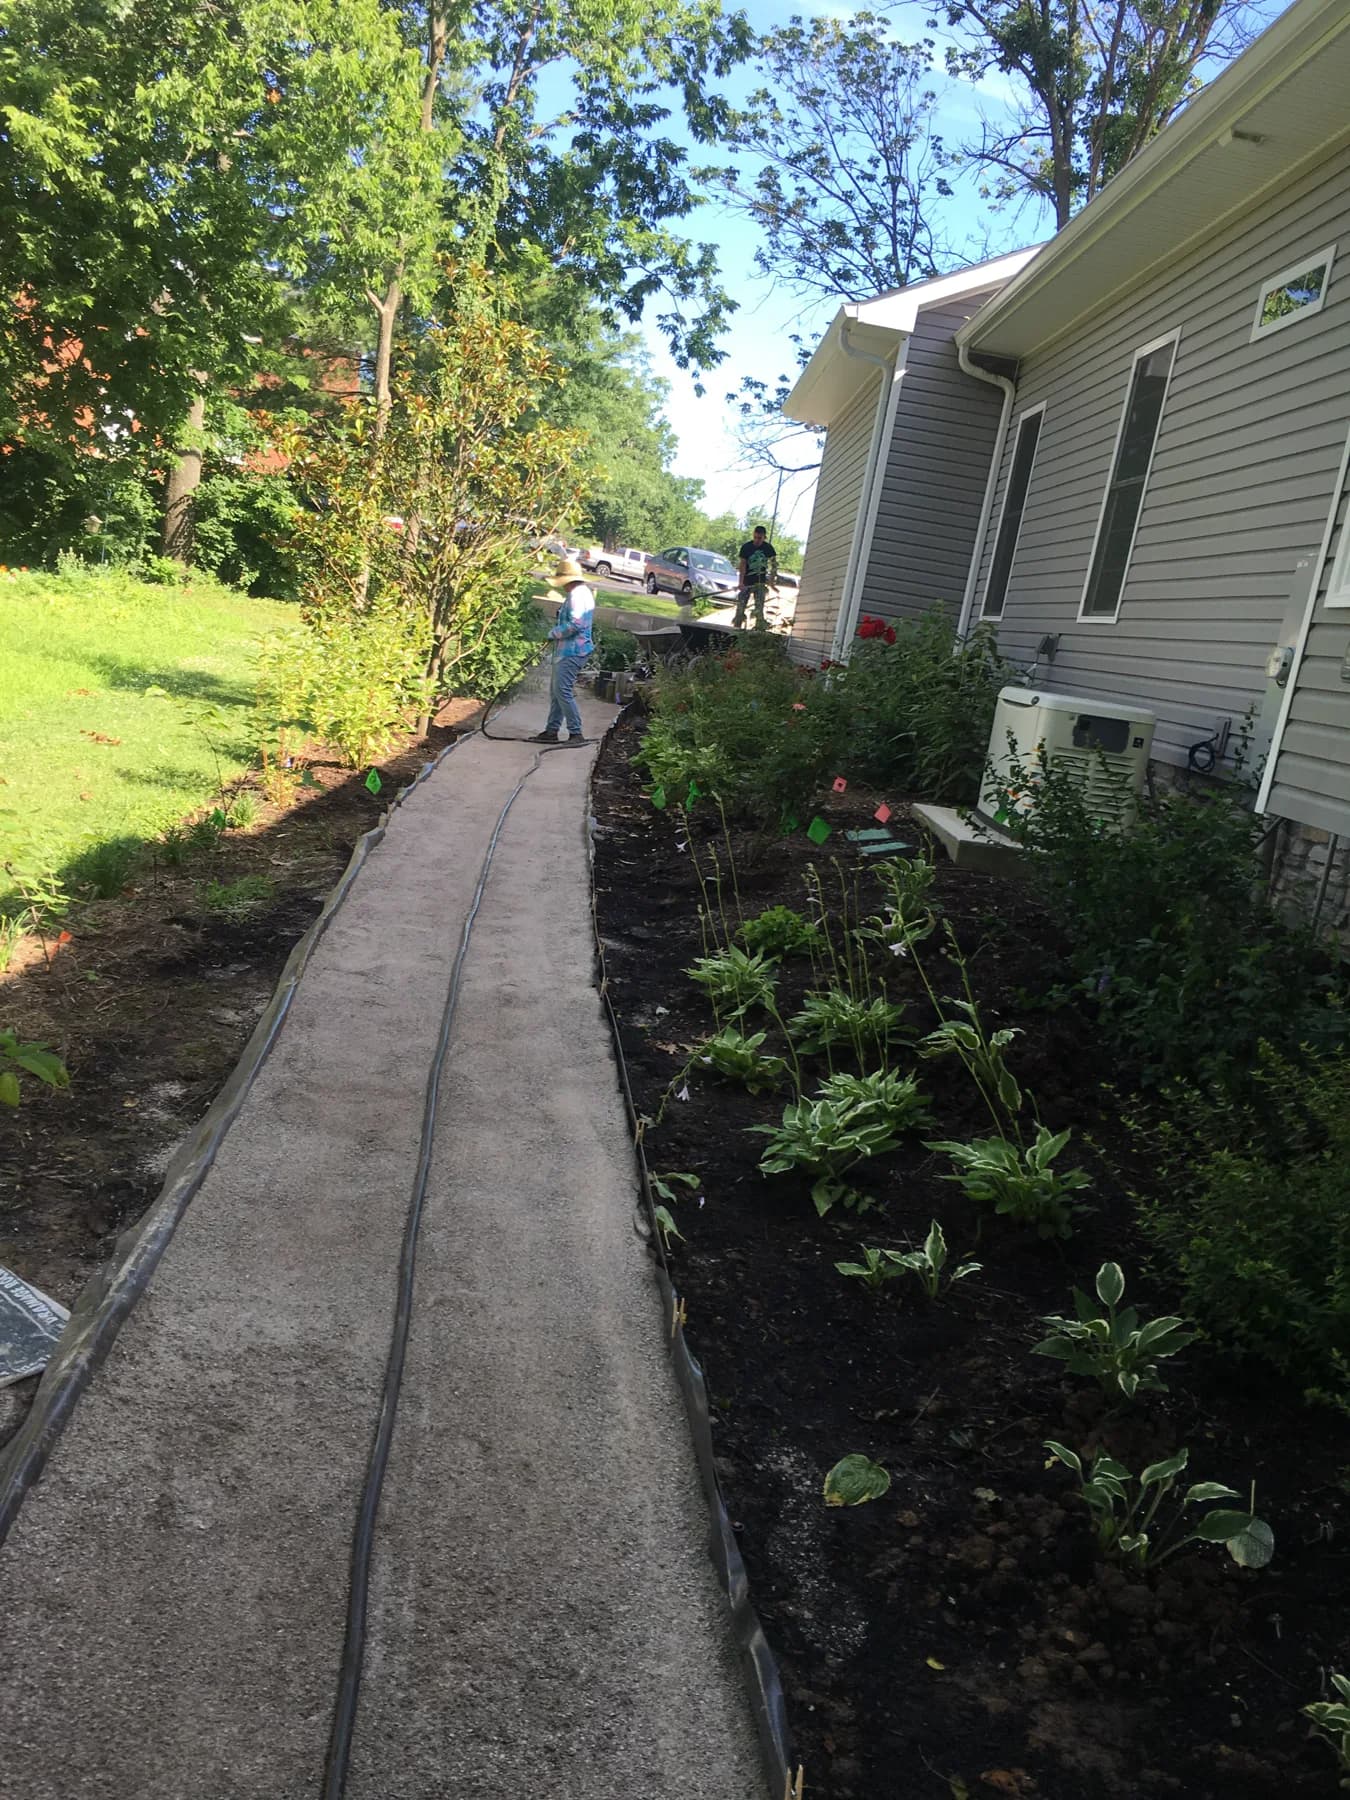
During
Cleanup and edge recovery give the new material a cleaner base instead of using mulch to hide old bed problems.
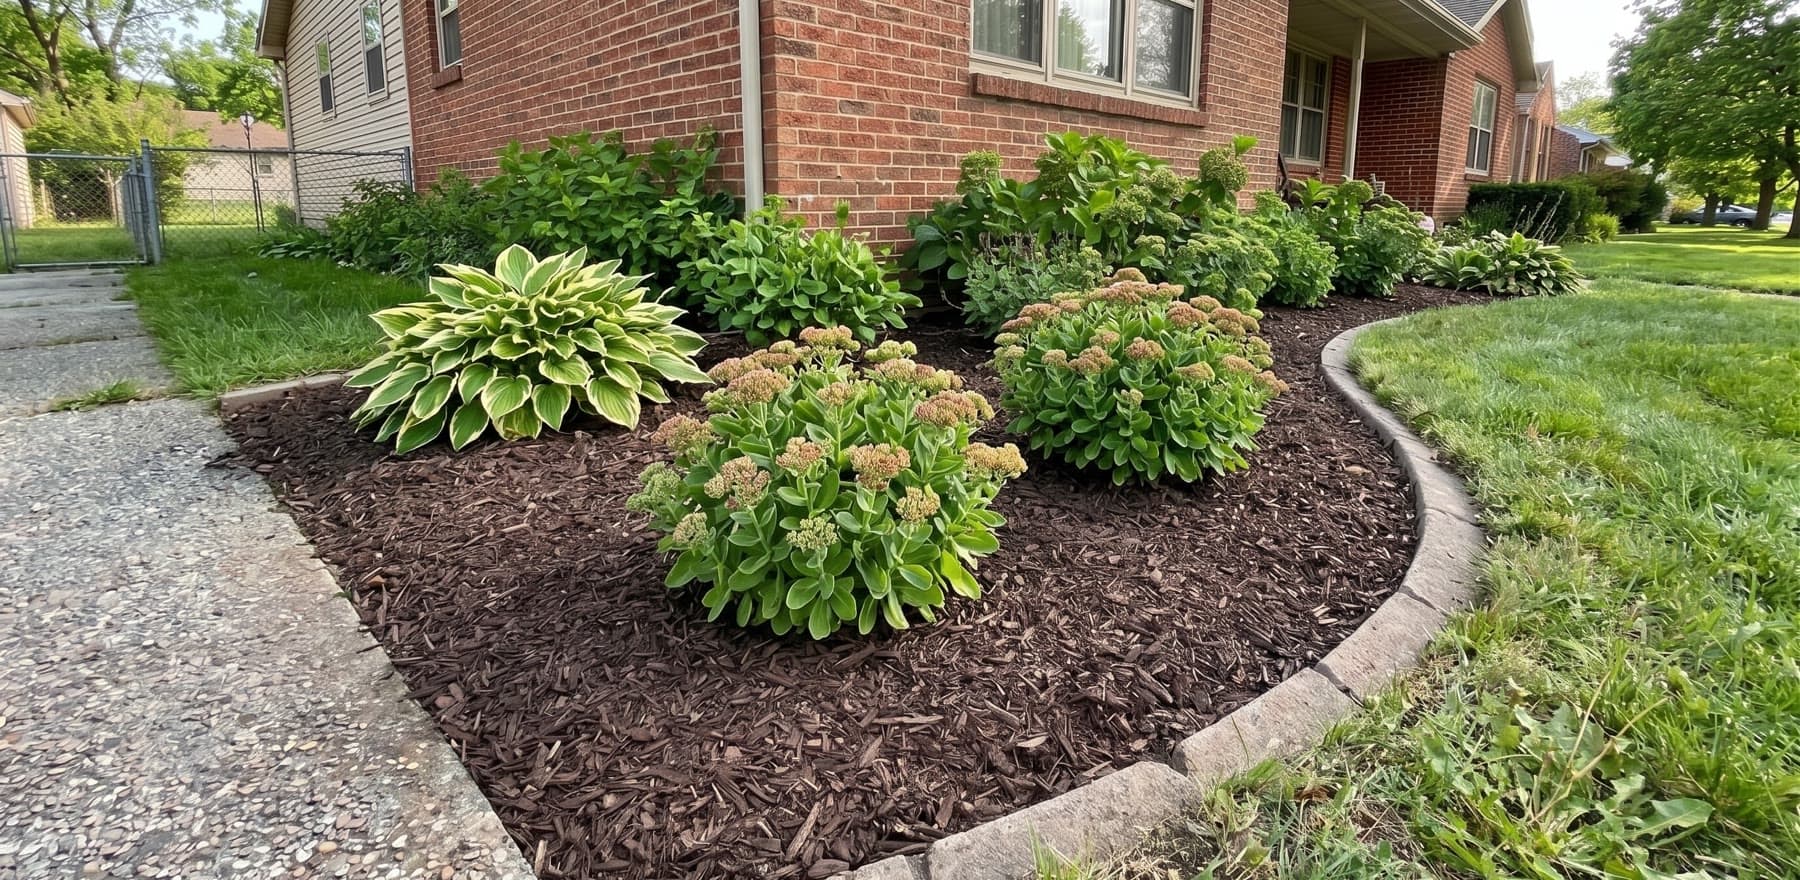
After
Fresh mulch looks sharper and holds longer when the bed is cleared, edged, and checked before the finish layer goes down.
CHECKLIST
The full bed prep checklist before mulch goes down
Mulch over a dirty bed is not a reset — it is a cover-up. Fresh mulch on top of weeds, buried debris, soft edges, and unchecked plant problems looks good for two weeks, then the problems push back through. The difference between a mulch job that holds and one that falls apart is almost always what happened before the mulch went down.
The prep checklist runs in order: edges, weeds, debris, plants, depth. Each step has its own logic, and skipping any of them reduces the finished result. The sections below cover each step.
EDGES
Edge definition and cleanup before fresh mulch
Soft, undefined edges make even fresh mulch look sloppy. Clean edge recovery — bed-to-turf separation, cleanup against walks and drives, bed-line straightening — should happen before mulch goes down. Mulching over a soft edge wastes the visual impact of new material.
Lexington clay tends to push edge lines outward over time. Beds in older neighborhoods — Chevy Chase, Beaumont, Gardenside — often need more aggressive edge recovery than newer construction. Edge recovery is one of the things that separates a mulch drop from a finished bed reset.
WEEDS
Weed removal and pre-emergent timing before mulching
Fresh mulch does not kill weeds already in the bed. They push through within weeks. Pull or treat weeds before mulching. Pre-emergent works best applied before or with fresh mulch, not after weeds are already established.
In Lexington beds, henbit and chickweed dominate spring beds, while crabgrass appears in summer. Most professionals avoid weed barrier fabric under mulch in ornamental beds — it eventually breaks down, fragments, and creates more problems than it solves. Weed control comes from clean prep and timely pre-emergent application, not fabric.
- •Pull or treat existing weeds before mulch layer goes down
- •Apply pre-emergent before or with fresh mulch, not after weeds are established
- •Avoid weed barrier fabric under mulch in ornamental beds
DEBRIS
Old mulch buildup, leaf litter, and debris removal before refreshing
When to remove old mulch depends on how much has built up and its condition. If the old layer is thin and mostly broken down, top-dressing works. If it is matted, thick, or built up over 3 to 4 inches, some removal is needed to keep the bed healthy and the depth manageable.
Mature tree canopy in neighborhoods like Chevy Chase, Beaumont, and Lansdowne creates significant leaf-litter accumulation in beds. Spring prep often means pulling back buried leaf debris before fresh mulch goes down. Not every bed needs full old-mulch removal — many are fine with top-dressing once debris is cleared.
PLANTS
What to check on existing plants before mulch covers the bed
Before mulch goes down, check for dead plant material that should be removed, obviously damaged or crossing branches worth cutting back, and whether the mulch depth will bury plant bases. Volcano mulching — piling mulch high against tree trunks or plant crowns — is one of the most common prep mistakes. It traps moisture against the bark, promotes rot, and can kill trees over time. Keep mulch pulled back from trunks and crowns.
Plant checks before mulch are part of a professional bed-reset visit. For deeper pruning questions that come up during bed prep, the pruning timing guide covers when and how to prune by plant type.
- •Remove dead plant material before mulching
- •Cut back obviously damaged or crossing branches
- •Keep mulch depth away from trunk bases and plant crowns
- •Avoid volcano mulching — do not pile mulch against trunks
DEPTH
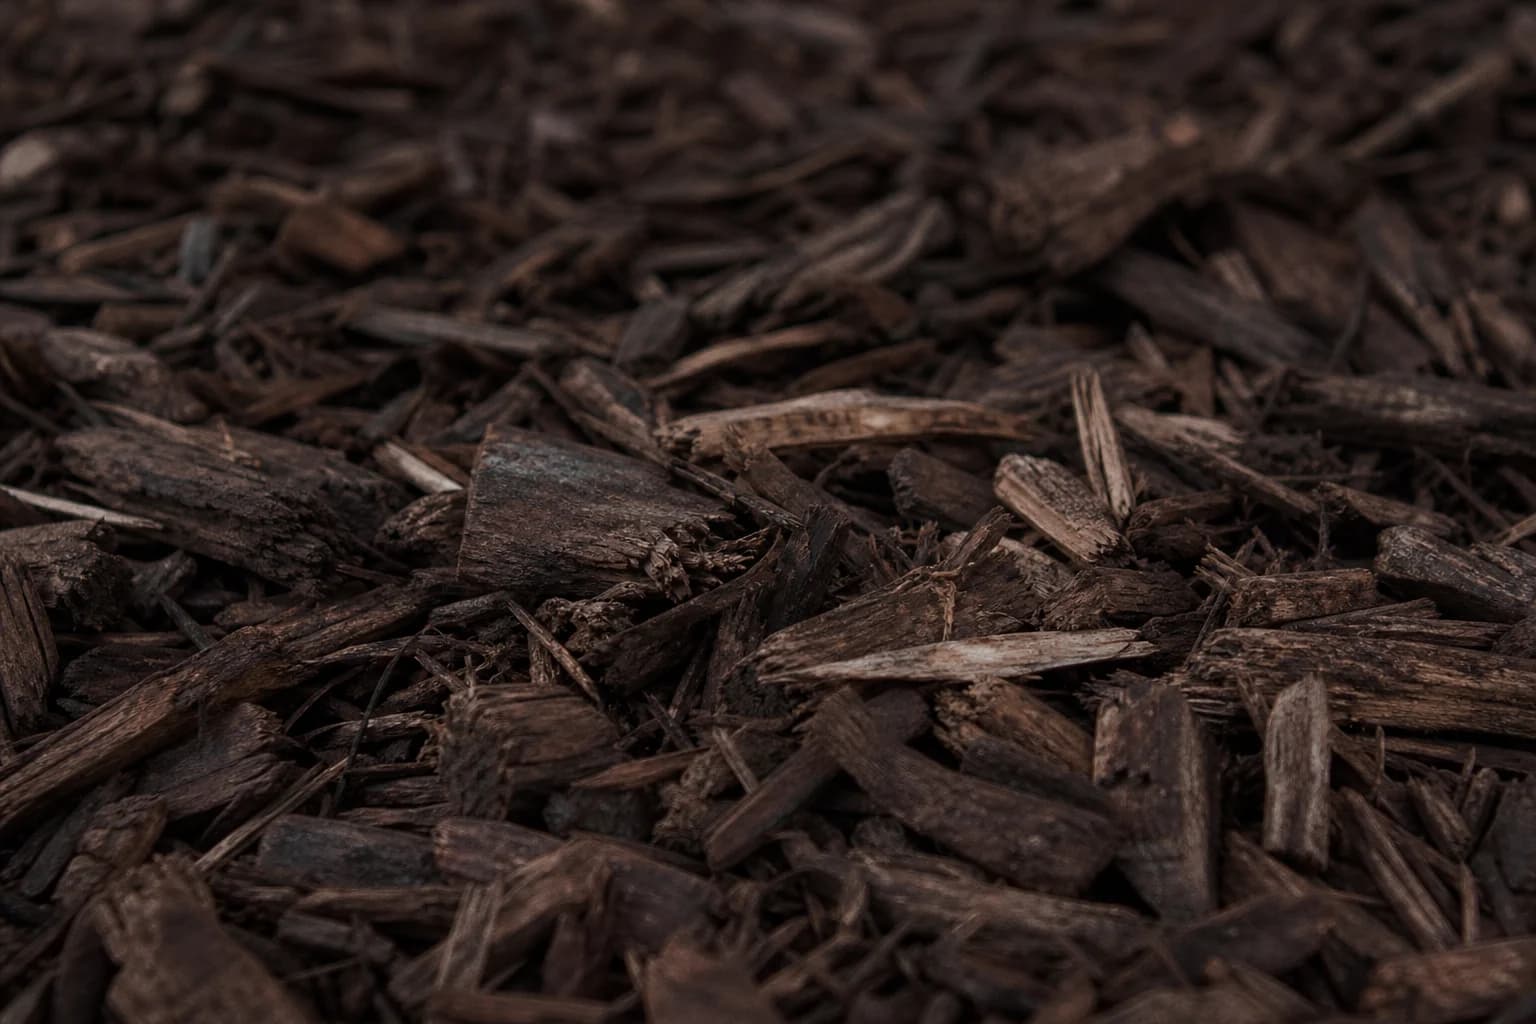
How much mulch and how deep? Why thicker is not always better.
Two to three inches is the standard for most ornamental beds. Over-mulching — more than four inches — creates moisture problems, root issues, and fungal growth. Thicker is not better.
This section stays on depth and quantity. Material choice — black versus brown versus pine straw — belongs in the mulch comparison guide. Depth is a prep decision; material is a separate question.
THE DIFFERENCE
What the same bed looks like before prep vs. after a proper mulch reset
Drag the slider to compare the same bed before cleanup and after prep and fresh mulch. The visual difference reflects the prep work underneath — that is what makes the finish hold.
Drag to compare
BOUNDARY
When the job becomes more than a mulching service
Most beds just need the checklist. If prep reveals the bed needs complete replanting, structural changes, or drainage fixes, that is a different scope than mulch prep. Route those situations to seasonal maintenance or installs and renovations.
Use this as a diagnostic, not a warning that every bed is a renovation. The checklist is about making the mulch install work. When the prep uncovers something bigger, that is useful information — not a sign that a simple mulch job is impossible.
Current Proof for Bed Prep and Mulch Reset Work
These projects show the difference between a careful bed prep and mulch result and what happens when prep is skipped.
Seasonal Mulch Refresh
Best current proof for a mulch-first reset where prep and finish quality are visible.
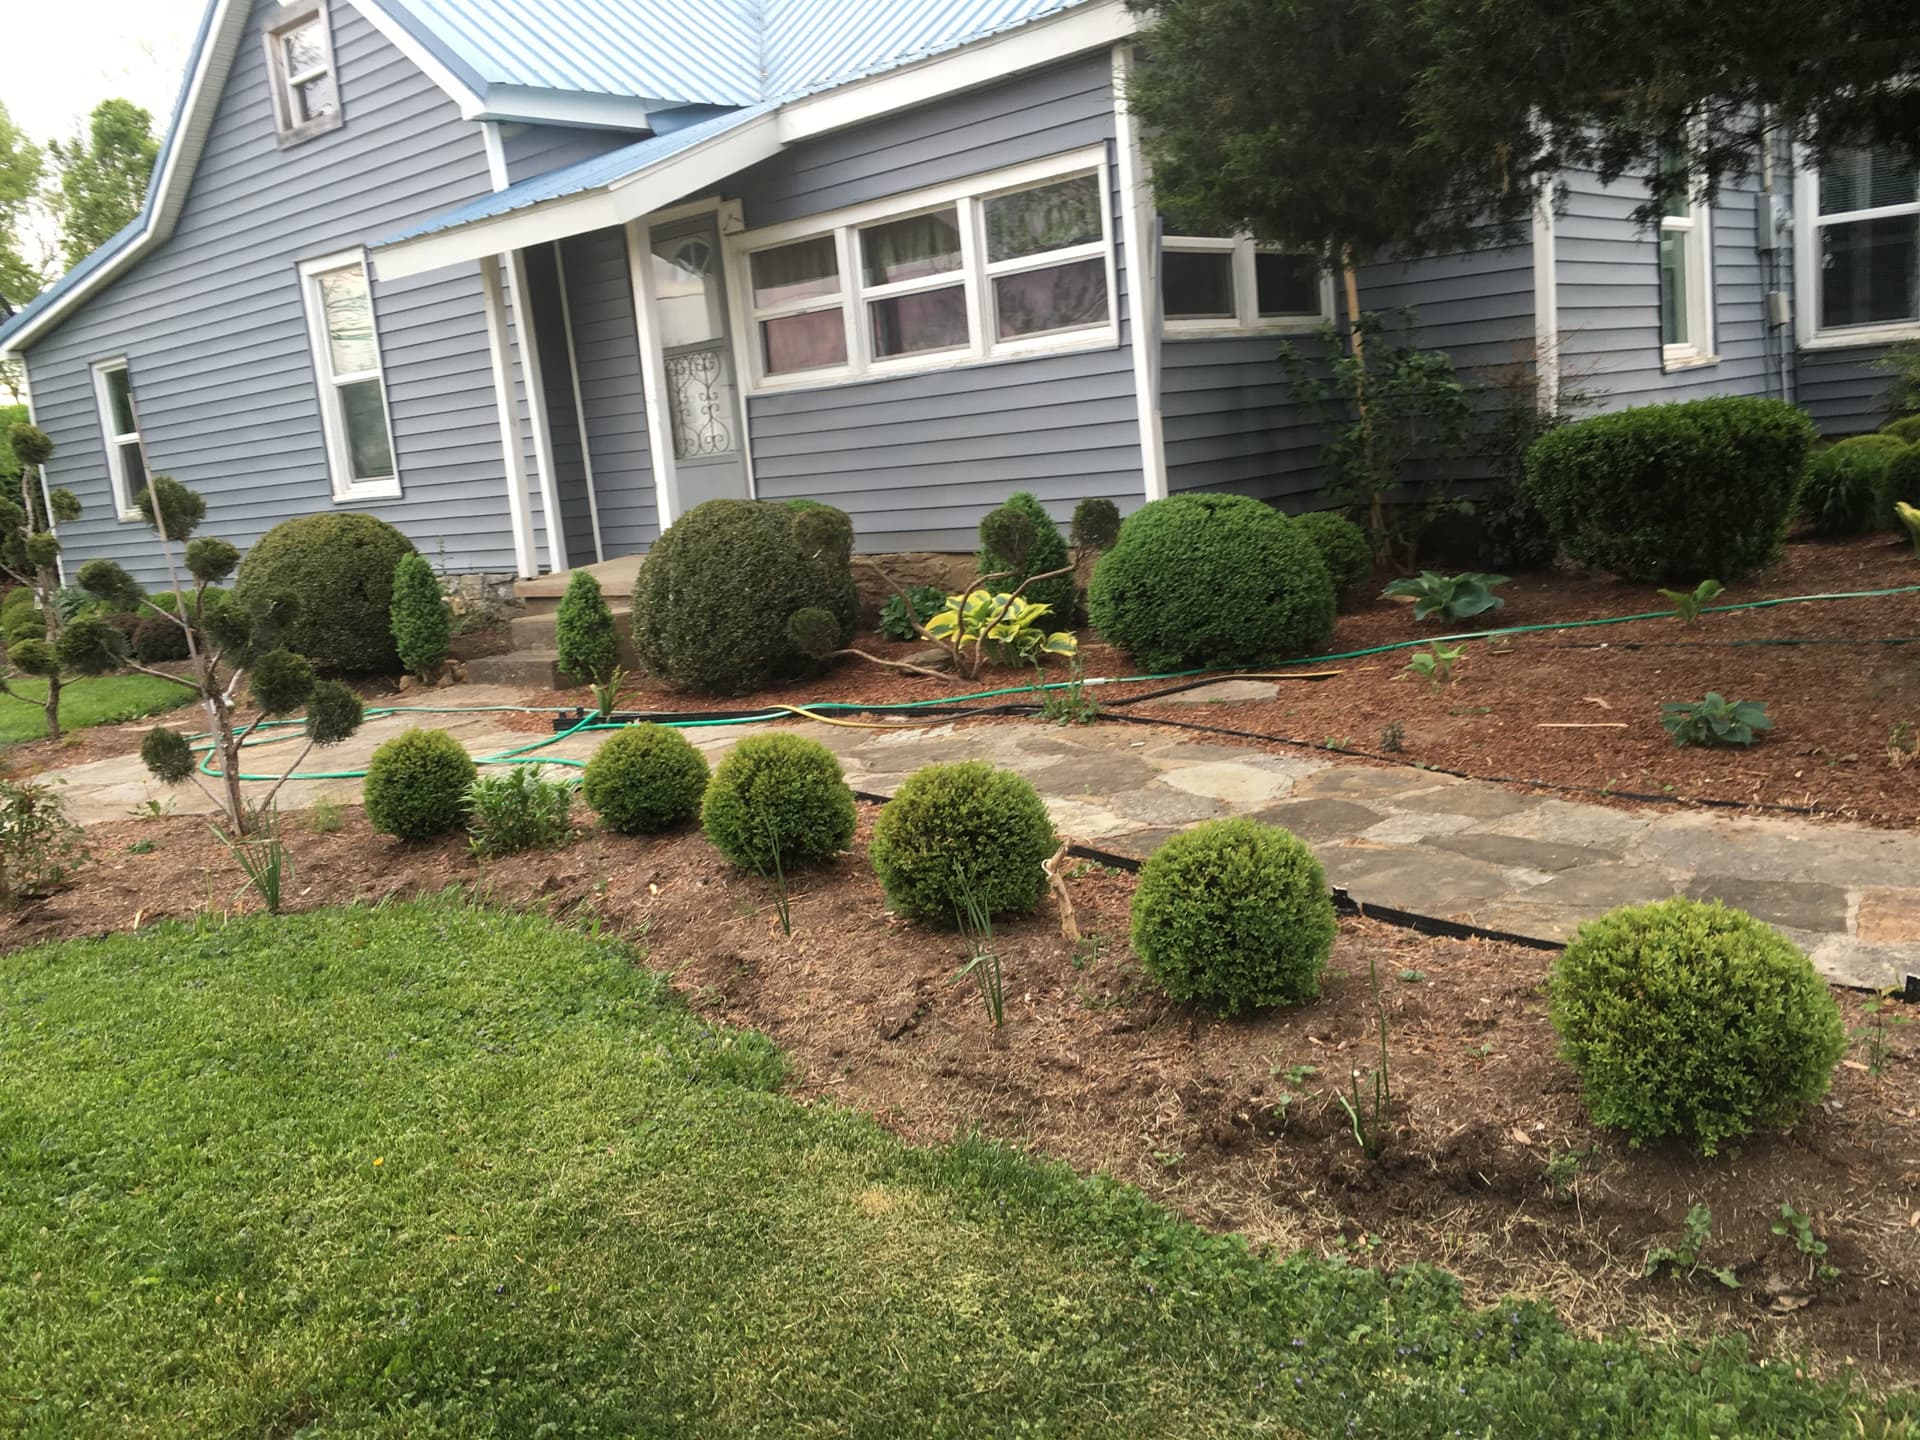
Bed Cleanup & Mulch Reset
Support proof for the cleanup and edge recovery that should happen before fresh mulch.
Maintenance Finish Standard
Support proof for the finish standard a proper bed prep and mulch install should reach.
Continue With the Right Service Page Once the Bed Is Ready
Use the service and research pages below when the prep question is answered and the bed is ready to move forward.
Bed Prep Before Mulching FAQs
These questions cover the prep steps between deciding to mulch and actually getting the mulch down.
Bed prep before mulching
The goal is to make sure the bed is actually ready so the mulch finish holds.
Should I remove old mulch before adding new mulch?
Not always. If the old layer is thin and mostly broken down, top-dressing works. If it is matted, thick, or built up over 3-4 inches, some removal may be needed to keep the bed healthy.
Should I edge before or after mulching?
Before. Clean edge recovery before fresh mulch gives the bed a sharper finished line. Mulching over soft edges wastes the visual impact of new material.
Should I pull weeds before mulching?
Yes. Fresh mulch over existing weeds does not kill them. They push through within weeks. Weed removal and optional pre-emergent should happen before the mulch layer goes down.
How deep should mulch be?
2-3 inches is the standard for most ornamental beds. Thicker is not better — over-mulching can create moisture problems, root issues, and fungal growth.
What is volcano mulching and why is it bad?
Volcano mulching is piling mulch high against tree trunks or plant bases. It traps moisture against the bark, promotes rot, and can kill trees over time. Keep mulch pulled back from trunks and crowns.
Still have questions? We're happy to walk through your project.
Want the beds prepped right before fresh mulch?
Request an estimate for professional bed prep, edge recovery, and mulch installation that actually holds.